Tuesday, December 22, 2009

Snowy Days

The holidays are keeping me really busy. Seems like every which way I turn there's something to do. Lot's of rushing, cooking, planning, shopping and not enough sleep! I'm thankful for the snowy days, the cozy moments at home and warm hugs from my daughter and kids in my class. It helps you remember what is really important about the holiday season.


This month in December we worked on so many great projects. These are a few of my favorites.

Tissue Paper Ornaments
-Black construction paper, tissue paper, glue sticks, scissors and ribbon/ yarn.
You can find this project on TeachKidsArt: December 2009
I was amazed at how easy it was and I just loved watching the kids use the materials on their own. I gave them the idea but they added small things to their ornaments and had alot of fun. I did precut this. You fold your paper and make a stencil or frame and the kids glue tissue paper to the back. So easy and the finished product is so pretty. You can also hang these as suncatchers.

Another idea I had was to use contact paper. Have the kids make a Christmas collage with scraps or confetti.


Drawing Nutcrackers
-Large White Paper, Colored Pencils, Markers and Crayons.
Drawing Nutcrackers is really great for kids to practice on their drawing skills. At first they were really excited to see me bring in my nutcracker but were upset to have to draw one. I had the kids first fold their paper on half that was the middle ( the nutcrakers belt). And made it fun having them pick out all the different shapes they could find. We used lot's of squares and retangles to help and viola they were learning how to draw a nutcracker.

I found it interesting and really cute all the different types. We had an irish nutrcracker, police, clown and a princess nutcracker. The kids really used their imagination.


 Orange you glad it's December
- Large White Paper, Yellow, Red Or Orange Tempera Paint, Construction Paper and Paintbrushes.
I did a similar project with masking tape. This time I used construction paper. It's really simple. I had the kids paint there paper and keep adding layers of construction paper. I cut out squares and retangles in different colors. It was a process they painted and added layer orver layer. At the end they peeled their blocks away to see the imprint left.


So another way of making abstract paintings. The kids loved watching me pull the blocks of paper away they were really bright. It was really fun to work with orange in December.


HAPPY HOLIDAY'S Everyone!


Friday, December 4, 2009

Dont Forget About The Chalk

Playful Penguins
- Construction Paper, Labels, Anything White to Stick On- Like Cotton or Tissue Paper, Chalk, Googly Eyes, Glue and Glitter.
I found this project on preschool daze I'm a big fan and love their playful classroom. They did a project called I is for Igloo and tried it with my class.


 I precut igloos which was pretty easy you just have to play around a bit and sketch it out to get a good shape but it's pretty easy. The other thing that I did which was pretty cool is I measured how big the doorway was of the igloo. I knew that these igloos needed penguins but I wanted to think of a new and creative way to make them. I drew a penguin and divided the black from white.
So I basically made a puzzle piece. I wanted to keep their belly's white. So that the kids had the fun of decorating them with chalk and adding the eye. And when they were finished chalking I glued the second piece. I thought that I was pretty cool for a few days figuring that out. Haha. Dont worry my head is back to normal size.


The kids peeled lables, stuck cotton and cut tissue paper to get their igloo white. And of course they had a blast sprinkling snowy glitter on top.


Really pretty and these penguins have personality! I'm pretty sure I'll find some other's ways of using chalk this winter.

Thursday, December 3, 2009

Lessons From The Past

Pollack And Friends


Swing Painting or ( Fishing)

Large Butcher Paper, Tempera Paint, Paintbrushes and String.
The last two classes were inspired by my favorite artist Jackson Pollack. I brought in some books and pictures of his artwork and we discussed his process. How Mr. Pollack made his lines, splats and dots. This was a group project so I had the kids stand over the paper and swing their paintbrushes over the paper. After a while we sat on our knees and just had fun.


I cut string and taped it to the end of the paintbrush making it almost like a fishing rod. Oh My! Was this project messy. But the kids had so much fun. First they swung, then they dotted, some would drop their brush in the paint swing it out to the paper and drag it in. It was hard to keep track it was amazing watching the kids each develop their own technique. Amazing what a kids will do if you just give them a paintbrush on string. Haha


As you can imagine I definitely had to direct this project more then the others. But when all was said and done. Wow it was a real masterpiece! It really was a Pollack inspired painting. Jackson would be proud!


More Splatting!
We did some marble rolling. Placing marbles in cups of paint, scooping them out with spoons and rolling them in cardboard boxes.


What's great is that your always learning. I had to take a step back and remember that with every great artist, once the creative juices get flowing there is no holding back. Sometimes you have to let go and at the end you'll be surprised at the beauty you behold.


Wednesday, November 25, 2009

Ending November With A Bang Of Bright Color!

Watercolors


This month has been really nice. Me and the kids have been working on so many different projects and I've grown really close with them. I can tell that their learning and having fun. I teach 3 classes a day, ages 3-7 and you really cant tell what age did which work. Their work is so amazing!! These kids are really talented and sweet.


 Making Prints With Watercolor
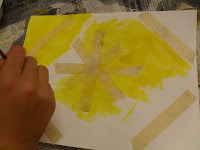
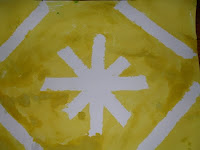
- Liquid Watercolors (or Reg Watercolors) & Masking Tape
We have been working on everything that has to do with fall, lot's of turkeys and what makes this month special. I wanted to end it with bright colors and just have some fun since it was my last class in November.

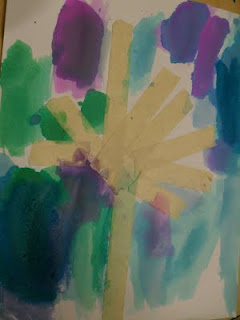
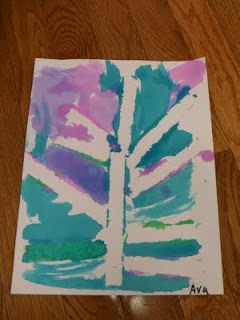
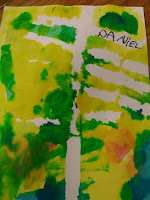
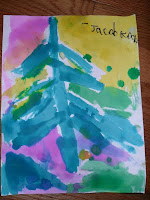
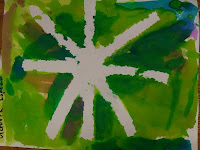
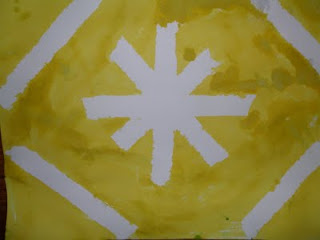
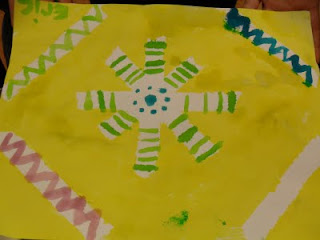
I had the children decorate their paper with masking tape. Some made trees, stars, snowflakes and abstract shapes. After they filled in the white spaces with paint and I carefully peeled the tape away. It left a really pretty print and the paints were bright and uplifting. A really fun and easy project. And we even had enough time to create a second.


The older children had a third process they made designs in their white spaces.


I loved this one


HAPPY THANKSGIVING !


GOBBLE GOBBLE

Thursday, November 19, 2009

Clay and Nature

Introducing Clay

I really wanted to do a project in November about nature and at the same time introduce the kids to clay. My daughter is always a huge help because she's full of new ideas and always working on things at school. At school she saw a program called "Dinosaur Rock" and brought home some fossils and rocks. I thought it would be a great idea to mix clay with nature.


Nature Fossil
- Crayola Air Dry Clay, Rollers (Clay Tools), Leaves, Twigs, Pepples, Grass etc.
I first spoke to the children about Dinosaurs and showed them some of fossils that my daughter had brought home. I had them pass it around and examine the fossils. We spoke about bones, prints and about things that are left behind that help us remember the way things were.

I had them play with the clay and showed them different ways to work with it. How to roll it, smash it, pinch it and cut it. Our job was to make it as flat like a pancake so it would be our platform to stage out twigs and things. After I had the kids press in all the different things found in my garden. They had a great time and were in a rush to take them home.


More Turkeys!!

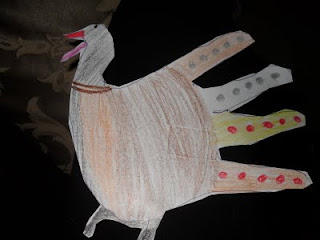
Just a few pictures of some the turkeys me and the older kids worked on. There really excited about Thanksgiving. Really easy project. We cut the body out of brown construction paper, one circle and one peanut shaped. And added feathers, eyes, feet and a beak. I let the kids go wild and get creative. I put tissue paper, yarn and markers on each table. And let them turkey around!


Sunday, November 15, 2009

Girl Scouts

Girls Love Glitter!

This is my daughter's first year in Girl Scouts and I volunteered to teach a small art class. The theme was Thanksgiving. And I had been working with contact paper during the week with my preschoolers in school. Previously that week we were making suncatchers and I thought it would be a great idea to make a Turkey suncatcher.


Turkey Suncatcher
-Contact paper, Turkey Cutouts, Construction paper, Googly eyes, Tissue paper( or feathers) felt and glitter.
I precut contact paper in rectangles and tape them down in place ( sticky side up). A made Turkey cutouts out of construction paper and had the girls place them in the center. What's great about the project is that there's really no need for glue, since the contact paper is sticky. But you may want to put a pea size amount on the goggly eye to keep in in place. They were free to decorate with tissue paper and they cut the turkey legs  out of orange felt. And at last they glittered away! I thought a small splash but these girls went glitter crazy. After a while these turkeys were looking very Glitterific!
It was alot of fun and I placed another contact over to seal the work. I had alot of fun!


The Preschoolers Loved It Too